

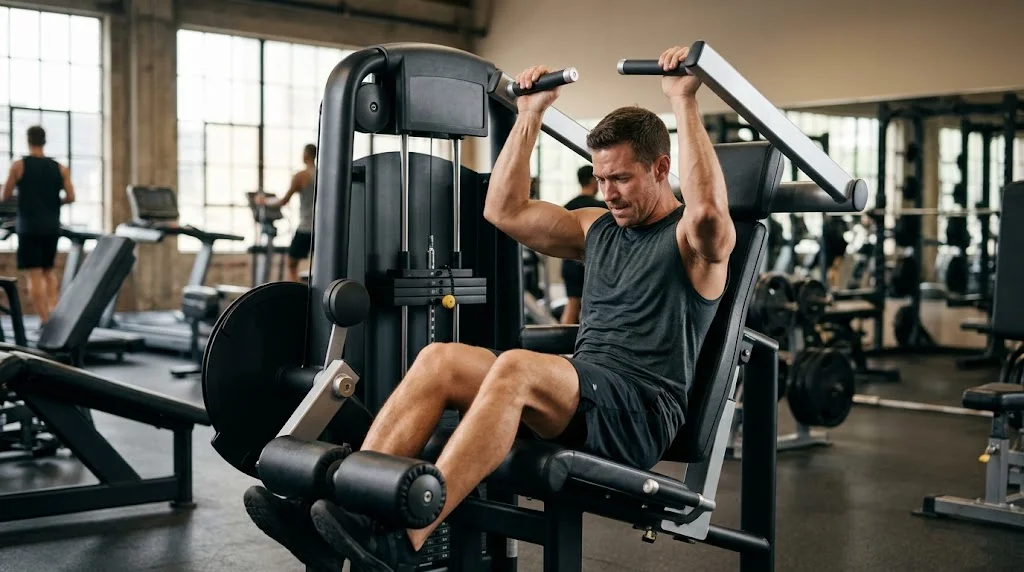
Building a defined, strong midsection requires more than endless floor crunches. While basic bodyweight movements have their place, they often fail to provide the progressive resistance needed to stimulate genuine muscular development. Dedicated abdominal crunch equipment bridges this gap by introducing mechanical tension, adjustable loads, and guided movement pathways. Whether you are using a commercial weight stack at your local fitness center or setting up a personal home workout space, understanding how these tools work is the fastest route to real core strength.
Modern fitness facilities rely heavily on abdominal crunch equipment to help lifters target their midsection without straining the cervical spine. When you lie on the floor, your neck and lower back frequently absorb unwanted tension. By shifting to purpose-built machines, you stabilize the pelvis, eliminate momentum, and force the abdominal wall to perform the exact work it was designed to do.
Anatomy and Mechanics of Machine Training
To get the most out of any core machine, you need to understand the primary muscle groups involved in trunk flexion. The abdominal wall is not a single flat sheet; it is an intricate network of interconnected muscle groups working together to protect your spine.
The rectus abdominis runs vertically from the pubic crest up to the sternum and ribs. Its primary mechanical function is to flex the vertebral column, bringing the ribcage closer to the pelvis. When you set up on abdominal crunch equipment, this muscle performs the lion’s share of the work. Assisting along the flanks are the internal and external obliques, which control trunk rotation, resist lateral bending, and assist in forward flexion.
The most common point of failure during machine crunches involves the hip flexors, specifically the psoas major and rectus femoris. If you pivot entirely at the hips rather than curling your spine, these powerful hip muscles take over the movement. Quality abdominal crunch equipment is engineered to anchor your lower body, preventing the hip flexors from dominating so the targeted core muscles handle the true workload.
Types of Crunch Machinery and Designs
Not all core machines operate the same way. Manufacturers use several mechanical systems to deliver resistance across the movement arc, each offering unique advantages depending on your experience level and workout environment.
Selectorized pin-stack machines are the standard in commercial health clubs. These units feature a weight stack with a magnetic selector pin, allowing for rapid weight adjustments between sets. The overhead handle design requires you to hold grips beside your ears while bending forward. Another popular style incorporates thick shoulder pads that rest directly against the clavicles, completely removing your arms and lat muscles from the pulling action.
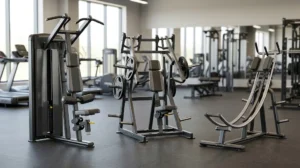
Plate-loaded crunch machines use standard Olympic weight plates mounted on a swinging lever arm. These are favored in serious strength facilities because they allow for micro-loading and provide a heavy, raw resistance curve. Clamshell machines feature a dual-action mechanism where the seat rises as the upper chest descends, compressing your entire torso into a compact tuck. Curved track arc machines take a bottom-up approach, gliding your knees upward toward your chest on a rolling carriage. Understanding these differences helps you select the right abdominal crunch equipment for your personal goals.
Step-by-Step Calibration and Setup
Improper machine adjustment is the leading cause of ineffective reps and unnecessary joint stress. Before you place a pin in the weight stack, take thirty seconds to customize the seat and leg supports to your body dimensions.
Begin by identifying the machine pivot indicator. Most reputable manufacturers place a bright red, yellow, or metallic indicator dot on the main frame next to the rotating axle. This axis represents the exact center of rotation for the lever arm. Your seat height must be set so this pivot mark aligns horizontally with your midsection, right between your lower ribs and your belly button.
Once your seat height is locked in, sit firmly back into the lumbar support. Your feet should rest securely on the foot pegs or slide beneath the padded ankle rollers. If the machine feels awkward or your hips lift away from the vinyl as soon as you begin the movement, adjust the footbar immediately. Proper setup on abdominal crunch equipment ensures that your pelvis stays locked in place, isolating the abdominal muscles from start to finish.
Execution, Repetition Cadence, and Form
Once seated correctly, execute the crunch with strict, deliberate control. Begin by holding the handles lightly with relaxed fingers. Your hands exist solely to keep you anchored to the machine; pulling through your biceps or lats turns an abdominal isolation exercise into a sloppy seated pullover.
Take a deep breath into your belly, brace your core, and initiate the movement by pulling your ribcage downward toward your hip bones. Visualize rounding your upper back naturally over the curved back pad. Push smoothly through the concentric phase without jerking the weight stack off its resting pins. At the bottom of the movement, pause for one full second to squeeze the rectus abdominis under maximum contraction while exhaling fully.
The eccentric return phase is where genuine muscle growth occurs. Instead of letting the resistance pull you upward abruptly, resist the weight stack over a controlled three-second descent. Stop your return just before the weight plates tap together. Maintaining continuous tension on abdominal crunch equipment throughout every repetition keeps the targeted fibers fully engaged.
Lower Back Safety and Spinal Flexion
A frequent concern among lifters is whether weighted spinal flexion is safe for the lower back. When executed with proper form and manageable resistance, training trunk flexion on dedicated machines strengthens the muscles that support your lumbar spine and improves daily postural stability.
Problems arise when individuals attempt to lift excessively heavy loads with poor technique. Hyperextending the lower back at the top of the rep puts unnecessary compressive force on the intervertebral discs. To protect your spine, keep your lower back pressed flush against the curved pad throughout the full range of motion. Avoid snapping backward into excessive extension between repetitions.
Individuals with existing spinal conditions, such as acute disc bulges or severe sciatica, should approach weighted flexion cautiously. In these instances, isometric core exercises like planks and bird-dogs may be more appropriate before transitioning back to loaded movements. For healthy lifters, properly calibrated abdominal crunch equipment offers a controlled environment to build spinal resilience without the erratic balance demands of free-weight movements.
Machines Compared to Cable and Floor Variations
Choosing between machinery, cable setups, and bodyweight floor routines comes down to stability, progression, and joint comfort. Each approach offers distinct biomechanical benefits.
Floor crunches require zero gear, making them the most accessible option for home workouts and warm-ups. However, floor variations suffer from an uneven resistance curve. The movement is relatively light at the start, spikes briefly in the middle, and provides no resistance at all once your torso lifts off the ground. Furthermore, adding progressive overload to floor crunches usually means awkwardly balancing a loose weight plate on your chest.
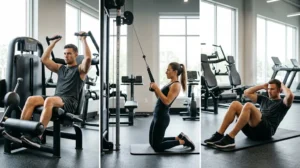
Kneeling cable crunches offer adjustable resistance, but they demand exceptional technique. Beginners often sit back onto their heels or turn the movement into a hip hinge, shifting the tension away from the abdominals. Using abdominal crunch equipment eliminates these balance variables entirely. The fixed movement path and rigid back support ensure you do not have to fight for balance, making it much easier to push the working muscles close to failure safely.
Progressive Overload and Programming
To stimulate hypertrophy and build prominent abdominal blocks, you must apply the same principles of progressive overload that you use for your chest, back, and legs. Performing sets of fifty to one hundred fast repetitions will build localized muscular endurance, but it does little for muscle density.
Aim for structured working sets in the 10 to 15 repetition range, terminating each set roughly one to two repetitions short of absolute technical failure. When you can successfully perform three sets of 15 clean repetitions with a steady eccentric tempo, increase the load by moving the selector pin down one plate or sliding small fractional weights onto your plate-loaded gear.
Incorporate your core training two to three times per week at the conclusion of your main resistance workouts. Because your abdominal wall assists in stabilizing heavy compound lifts like squats and deadlifts, heavy machine crunch work should generally be performed after your primary compound movements are completed. Consistent progression on abdominal crunch equipment provides the progressive mechanical stimulus your abs need to grow.
Common Form Mistakes and How to Correct Them
Even experienced lifters fall prey to simple technical errors that diminish the effectiveness of their core workouts. Recognizing these pitfalls ensures you maximize every set you perform.
The most frequent error is pulling aggressively with the arms. When lifters grip the handles tightly, their arms and lats automatically engage, pulling the chest down rather than allowing the abdominal wall to flex the spine. To fix this, keep your grip loose and focus your mental energy purely on drawing your sternum closer to your waistband.
Another common mistake is leading with the chin. Tucking your chin hard into your chest places unnecessary torque on your cervical spine without moving the machine arm a single millimeter. Keep your neck relaxed and maintain a neutral cervical spine, keeping your gaze fixed naturally forward. Finally, avoid bouncing out of the bottom position. Dropping the weight plates quickly and using momentum to launch the next rep takes tension off the muscles and strains the lower back. Smooth, rhythmic control on abdominal crunch equipment always produces superior results.
FAQs
What muscles does the crunch machine primarily work?
The primary target is the rectus abdominis, which pulls the ribcage toward the pelvis. The internal and external obliques act as secondary stabilizers during the movement, while the hip flexors assist in keeping the lower body anchored.
How should I set the seat height on a crunch machine?
Adjust the seat so that the machine pivot axis indicator aligns directly with your midsection, between your lower ribs and your navel. If you feel excessive tension in your thighs, raise the seat slightly; if your upper back bends without moving your lower ribcage, lower the seat.
Can using a crunch machine burn belly fat?
No machine can selectively burn body fat from a specific area of your body. Localized fat loss is a physiological myth. Abdominal crunch equipment develops, thickens, and strengthens the underlying muscles, but revealing visible abdominal definition requires a caloric deficit achieved through proper nutrition and overall energy expenditure.
How much weight should a beginner use?
Begin with a very light resistance that allows you to complete 12 to 15 slow, controlled repetitions with a distinct pause at the bottom. Most beginners do best starting with 30 to 50 pounds on a standard selector stack to master the pivot mechanics before adding heavier resistance.






Leave a Reply