

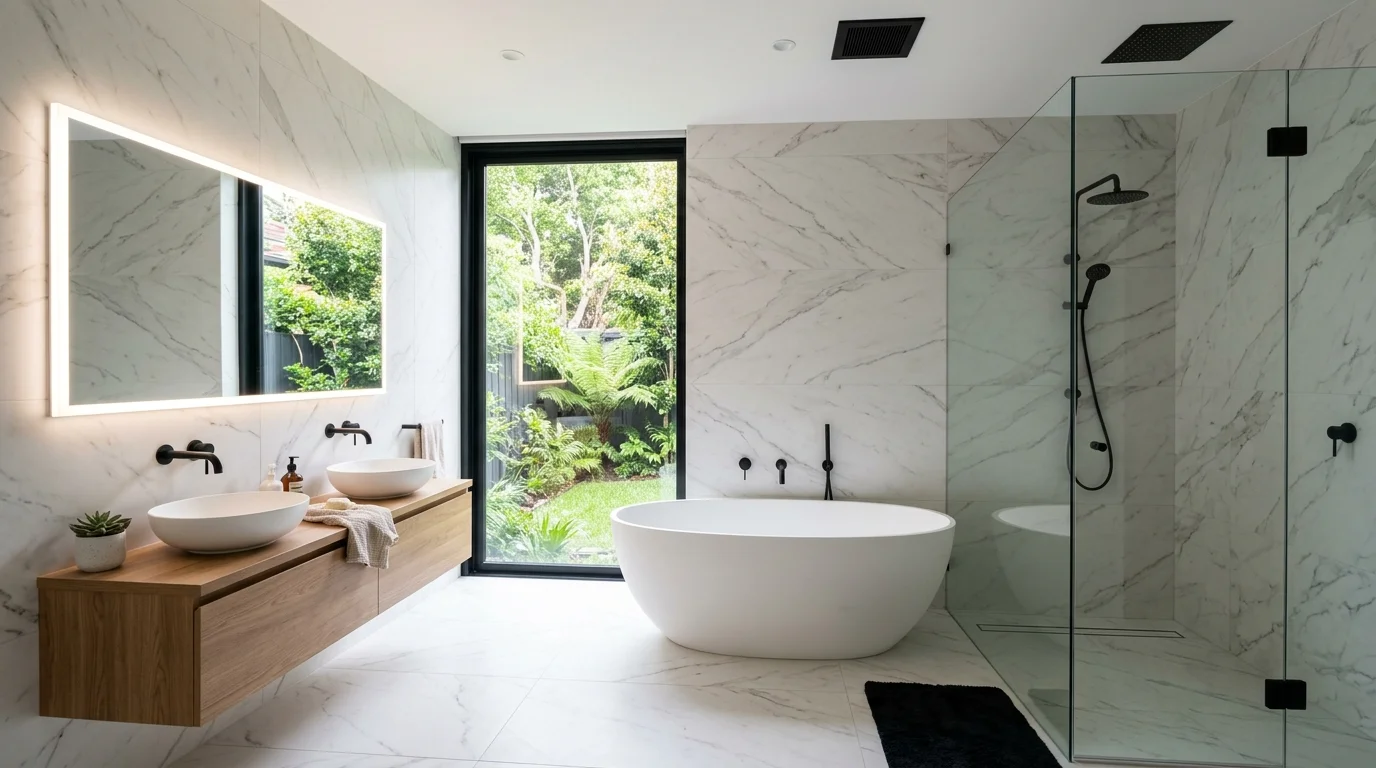
Finding the right washroom tiles ideas can instantly transform a routine bathroom renovation into a stylish, spa-like sanctuary. Beyond protecting walls and subfloors from water exposure, tiles establish the visual foundation, tone, and spatial feel of your entire room. The modern home design landscape offers an extraordinary range of finishes, textures, and installation formats. However, navigating these choices without a structured plan often leads to second-guessing and costly design missteps.
A successful design balances high visual appeal with long-term functionality. Whether you are updating a compact powder room or planning an expansive master en-suite, using creative washroom tiles ideas allows you to customize your layout while meeting strict standards for safety, durability, and moisture resistance. This comprehensive guide breaks down spatial layout strategies, material specifications, visual trends, and crucial technical considerations to help you create a stunning, enduring sanctuary.
Washroom Tile Ideas by Room Size
Small Washroom Tile Ideas: Expanding Perceived Space
Designing a compact room requires strategic visual planning. Contrary to popular belief, small spaces do not strictly require small tiles. In fact, using large format tiles in small bathrooms minimizes grout lines, reducing visual clutter and creating an uninterrupted plane that opens up the floor area.
When searching for small washroom tile ideas, pairing light neutrals with narrow grout joints creates the illusion of expansive, continuous flooring. Combining light-reflective surfaces on the walls with uniform floor layouts makes narrow rooms feel airy, open, and uncluttered.
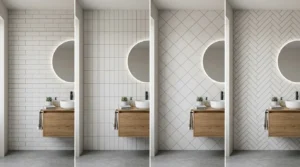
Optical Illusions:
The layout direction you select does significant design work. A classic subway tile layout installed horizontally elongates walls and balances proportion in narrow layouts. Installing subway tiles in a vertical stack draws the eye upward, making standard ceilings feel taller.
| Layout Style | Primary Spatial Benefit |
| Horizontal Offset | Elongates narrow walls |
| Vertical Stack | Adds perceived ceiling height |
| Diagonal / Herringbone | Expands floor width, hides alignment shifts |
| Large Format Grid | Eliminates grout clutter in small rooms |
For homeowners wanting character without overwhelming a compact footprint, a diagonal herringbone tile design introduces movement and sophistication. The eye follows the zig-zag pattern outward rather than focusing on room boundaries, effectively tricking the mind into perceiving a larger area.
Master En-Suite Elevation: Floor-to-Ceiling Slab Tiling
For primary bathrooms, floor-to-ceiling continuous slab tiling delivers an elevated, hotel-inspired aesthetic. Wrapping marble bathroom tiles or large porcelain sheets across entire walls establishes an uninterrupted backdrop that reflects natural light beautifully. This seamless approach creates a cohesive environment where fixtures become focal points against an elegant, stone-textured backdrop.
Trending Styles and Visual Textures
Handcrafted Zellige and Gloss Finishes
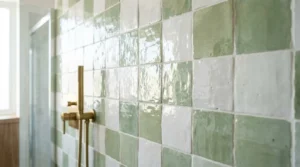
Handcrafted zellige tiles in bathroom installations are celebrated for their organic variations in tone, depth, and surface contour. Because no two zellige pieces are identical, the finished surface catches light at micro-angles, casting a soft shimmer across shower enclosures. Gloss finishes on wall surfaces maximize natural light reflection, making them an excellent match for rooms with compact windows or indirect lighting.
Modern washroom tiles ideas and Encaustic Feature Walls
Introducing a dedicated focal point prevents large rooms from feeling flat or clinical. Placing a terrazzo feature wall behind a floating vanity or inside a shower niche adds playful, multi-tonal texture. Similarly, vintage-inspired encaustic tiles introduce intricate geometric art into neutral spaces. Restricting bold geometric tile pattern choices to a single focal plane allows the accent area to make a memorable impact without crowding adjacent decor.
Organic Stone and Timber-Look Tiles
Biophilic design principles continue to influence modern residential interiors. Incorporating organic slate floor tiles or warm stone textures grounds the room in natural serenity. For homeowners who love the warmth of hardwood floors but require strict water resistance, timber-look tiles present a durable, non-porous solution. Combining stone wall surfaces with wood-look tile flooring creates a balanced retreat that feels cozy yet easy to maintain.
The Lighting and Tile Interaction Framework
Under-Cabinet LED Strips and Textured Surfaces
Lighting plays a vital role in how tiled surfaces are perceived. Modern bathroom vanity setups frequently incorporate under-cabinet LED strip lights to cast downward illumination. When paired with three-dimensional or textured ceramic tiles, low-angle grazing light creates dramatic highlights and shadows that emphasize surface craftsmanship. However, if tile surfaces have slight height variations, harsh downward lighting can exaggerate lippage, making precise installation crucial.
Matte vs. Glossy Reaction to Natural Light
Natural daylight from windows or skylights changes throughout the day, altering tile appearance. High-gloss finishes reflect direct sunlight, creating bright highlights that illuminate dark corners. In contrast, matte surfaces absorb light evenly, producing a soft glow that reduces glare. For rooms exposed to intense afternoon sun, matte tiles prevent uncomfortable reflection while maintaining a calm ambient setting.
Zone-Specific Tiling Directions
Shower Recess and Wet Area Focus
Shower enclosures demand rigorous waterproofing and material selection. Wall surfaces require non-porous cladding backed by high-grade waterproofing membranes to prevent moisture intrusion behind tile backer boards.
In the shower pan, smaller mosaic formats provide necessary traction underfoot while easily accommodating slope variations toward floor drains. Utilizing curated washroom tiles ideas tailored to shower wet zones ensures long-term defense against water damage.
| Zone | Recommended Material | Key Property |
| Shower Pan Floor | Small Mosaics | High grip, easy slope |
| Main Vanity Floor | Anti-Slip Porcelain | DCOF > 0.42, easy cleaning |
| Accent Feature Wall | Zellige / Terrazzo | High visual contrast |
| Dry Wall Zones | Ceramic / Subway | Lightweight, decorative |
Feature Walls vs. Half-Height Wainscoting
Tiling every vertical surface is not strictly necessary. Half-height wainscoting tiling around perimeter walls protects lower drywall sections from splashes while keeping material costs manageable.
This method leaves the upper wall area free for water-resistant paint or to give washroom tiles ideas, providing an opportunity to layer soft textures against crisp tile lines.
Seamless Transitions: Curbless Shower Layouts
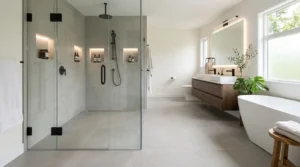
Curbless showers create an uninterrupted line from dry vanity floors straight into the shower recess. Achieving this continuous aesthetic requires matching flush floor levels and opting for linear drainage channels. Carrying identical porcelain floor tiles throughout the room eliminates visual barriers, creating a sleek look that improves accessibility and simplifies floor cleaning.
Safety and Longevity Metrics
Slip Resistance Metrics for Wet Floors
Floor safety should never be compromised for appearance. When selecting materials for wet locations, evaluating the slip resistance rating bathroom tiles carry is vital. Flooring products are tested for friction performance, often represented by Dynamic Coefficient of Friction (DCOF) values. For residential shower floors, specifying tiles with a DCOF rating above 0.42 or an R10 anti-slip classification provides strong traction under wet conditions.
Rectified vs. Pressed Edges
Tile edge processing impacts both final appearance and routine maintenance:
-
Rectified Edges: Mechanically cut to exact dimensions, allowing razor-thin grout lines (1.5mm to 2mm). This provides an ultra-modern, continuous look that reduces exposed grout lines.
-
Pressed Edges: Traditional rounded edges that require wider grout joints (3mm to 5mm). These absorb minor subfloor imperfections gracefully during installation.
Minimizing joint widths through rectified porcelain tile placement yields a cleaner surface that accumulates less soap scum over time.
Materials and Maintenance Checklist
Porcelain vs. Ceramic Specs
Understanding material differences prevents misapplication in wet zones:
Porcelain remains the gold standard for high-moisture flooring, while ceramic tiles offer an affordable, lightweight choice for decorative wall accents.
Epoxy vs. Cementitious Grout Strategy
Standard cement-based grouts are porous, meaning they require periodic sealing to block moisture and stain accumulation. Upgrading to epoxy grout provides a non-porous, highly stain-resistant barrier that resists mold growth and harsh cleaning chemicals. Epoxy grout eliminates the need for recurring sealers, ensuring grout joints remain clean with minimal maintenance.

Strategic Design Combinations
To help visualize how different styles come together in real-world spaces, consider these cohesive material pairings:
The Contemporary Coastal Palette
-
Wall Tiles: Soft blue or sea-foam green subway tiles with a subtle gloss finish.
-
Floor Tiles: Matte, light-gray terrazzo with fine mineral flecks.
-
Accent/Feature: Natural timber-look tiles framing the mirror and vanity niche.
-
Grout Selection: Tonal soft-white epoxy grout for a seamless transition.
The Modern Industrial Sanctuary
-
Wall Tiles: Vertical-stacked matte black or deep charcoal ceramic subway tiles.
-
Floor Tiles: Large-format concrete-look porcelain tiles with an R10 anti-slip finish.
-
Accent/Feature: Brass fixtures paired with a rich marble mosaic shower pan.
-
Grout Selection: Mid-gray stain-resistant grout to define tile gridlines gracefully.
Essential Pre-Purchase & Installation Guide
Before placing tile orders, following a methodical project checklist helps avoid unexpected delays or material shortages:
-
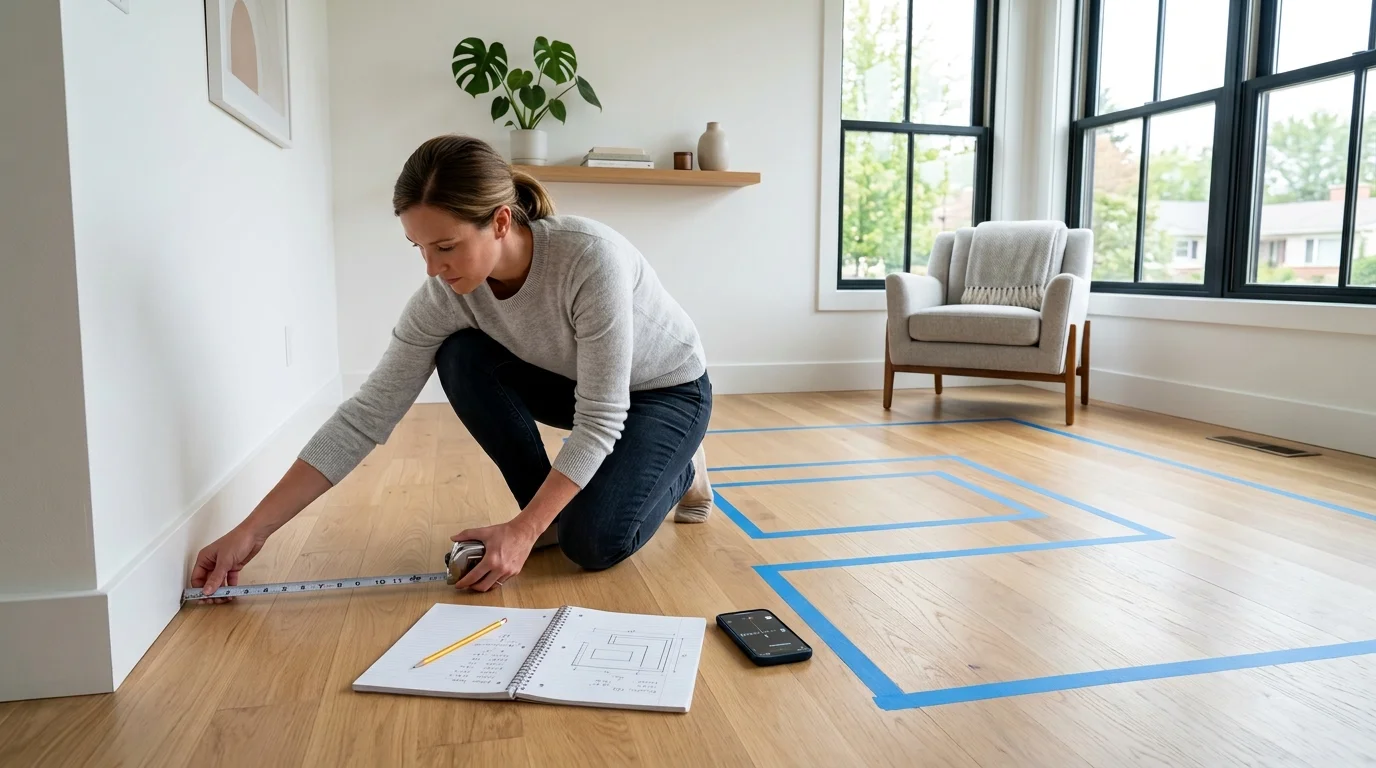
Calculate Area Accurately: Measure total square coverage for walls and floors independently.
-
Include Waste Allowances: Add a 10% waste buffer for standard grid layouts, or a 15% buffer for intricate herringbone and diagonal patterns to account for cuts.
-
Verify Subfloor Preparedness: Confirm that subfloors are completely level, rigid, and waterproofed prior to tile laying.
-
Inspect Batch Shade Lots: Ensure all delivered tile boxes share identical batch numbers to maintain uniform color tones across the installation.
-
Establish Clean Maintenance Routines: Use pH-neutral tile cleaners to preserve grout seals and tile glazes over the long term.
Summary
Implementing thoughtfully planned washroom tiles ideas elevates daily routines while enhancing property value. By balancing spatial layouts, material durability, safety metrics, and maintenance planning, you can build a beautiful, high-performing space tailored to your lifestyle.
Focusing on quality materials like non-porous porcelain, selecting appropriate slip-resistant textures, and applying stain-resistant grouts ensures your renovated space stays beautiful, functional, and inviting for years to come.








Leave a Reply